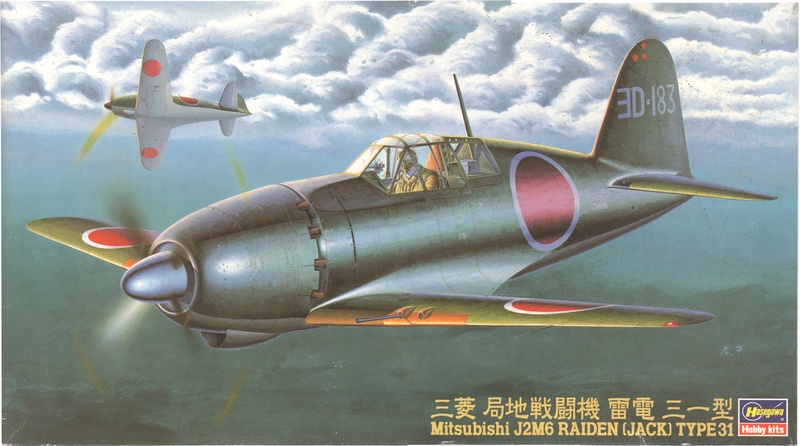
Hasegawa 1/48 Mitsubishi J2M6 Raiden (Jack) Type 31 (09146/Jt46)
I bought this kit on eBay earlier this year. I like the look of the Raiden, and this is an uncommon variant. Also, after the lull of the last few months, I wanted something simple.
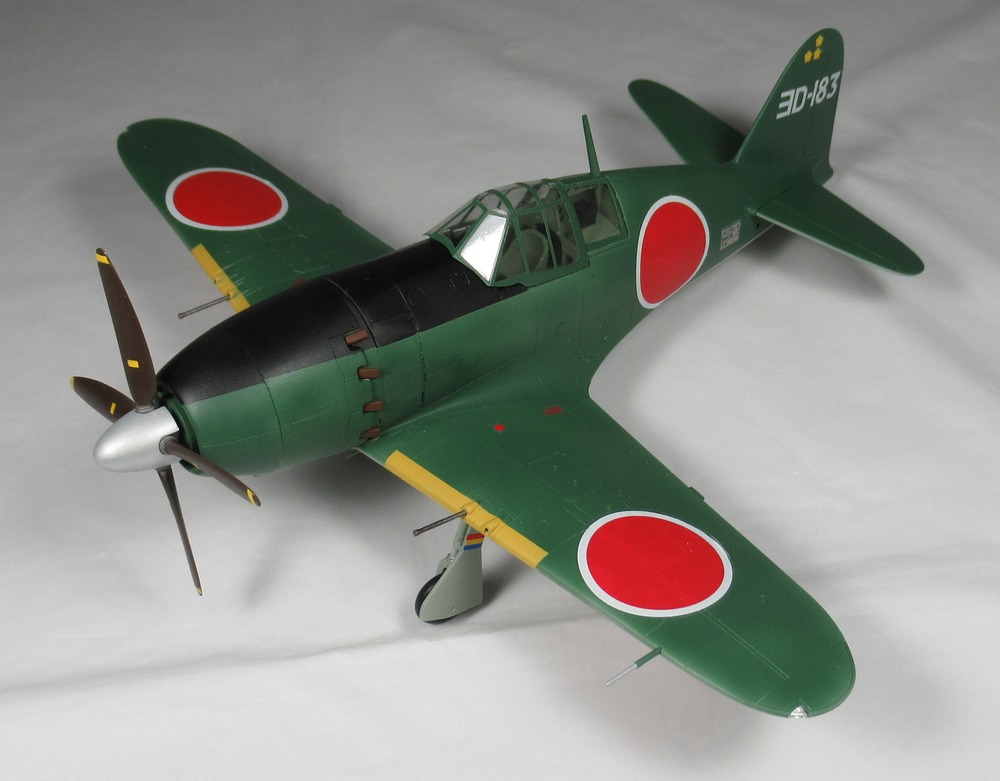
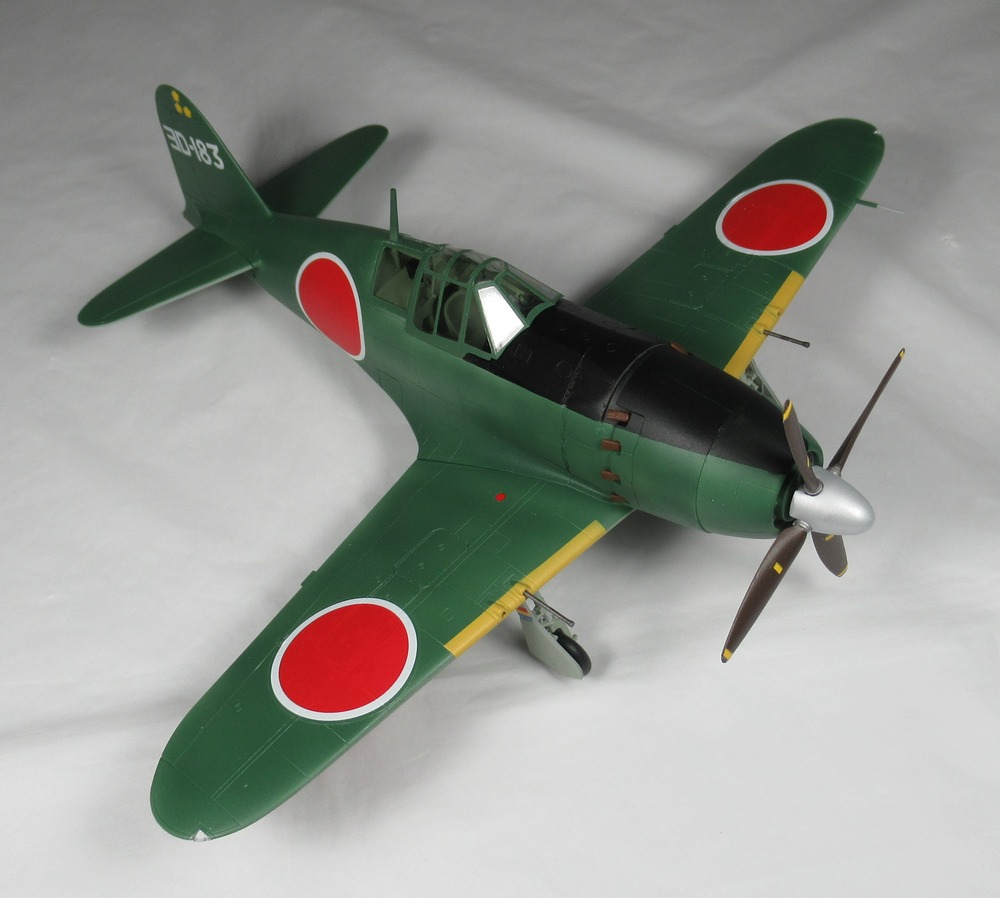
There were no major problems in assembly, at least until the end. When I first built a Raiden, I removed the two bars and center circle at the front of the cowling, thinking they were part of the molding process. Turns out they were there on the real plane, so this time I left them on. There are only two subjects in the kit, and the only difference colorwise is that color of the spinner. This subject has a silver spinner; the spinner on the other subject is the same color as the propellor blades (dark brown).
I primed with Tamiya gray primer in the 40 ml jar. The bottom is XF-12 JN Grey. The top should be XF-70 Dark Green 2, but I used my mix for FS34092, which is roughly XF-26:6 Deep Green and XF-2:4 Flat White. I don't know how historically accurate the color is (probably not very), but I like the way it looks.
I used Quick Shine as a pre-decal gloss coat. I had intended to try something new on this kit, namely to use decals for the yellow on the leading edges of the wings. As suck, I didn't paint them. But when I double checked the decal sheet, I realized this kit doesn't come with them. Before starting this kit, I had also considered the Tamiya A6M3, which does come with decals, and got the two mixed up in my head. So I ended up painting the yellow after everything else. This is why the yellow does not go all the way to the fuselage, which it should. The yellow was AMMO (RLM 04) Gold Yellow.
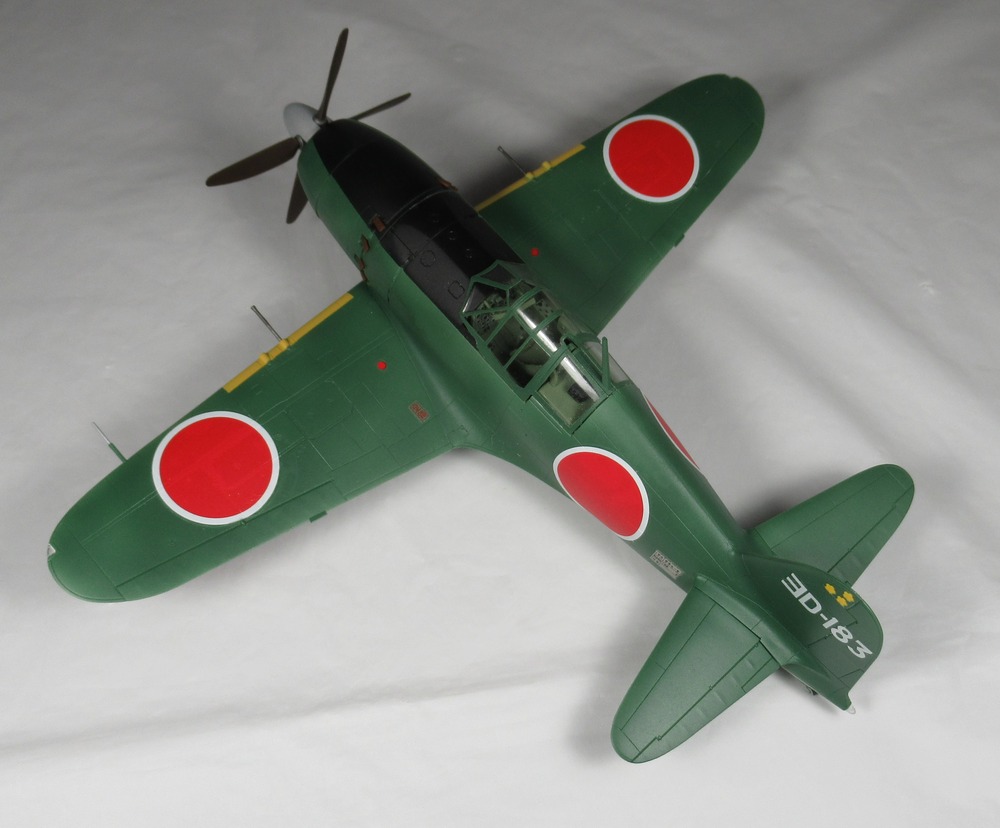
The decals went on well. I even applied some stencils, such as the yellow stripes on the prop blades and the markings on the landing gear covers. After I applied the decals is when things started to go downhill. Although not visible in the photos, I had trouble attaching the landing gear covers (as I often do). As such, I could not fit the small, outer doors on the landing gear bays - they wouldn't fit. I need to remember to attach those first. Also, I tried to attach the drop tank after the landing gear, but it would not fit with the inner doors in place. So I also need to remember to attach the drop tank before the inner gear doors. I used Micro Flat, straight from the bottle, for a flat coat.
One thing that I was pleased with was the mask I made for the canopy. I created an SVG file (which can be downloaded from here) and used my Silhouette Portrait cutter to cut it. Although not quite perfect, it did fit quite well. I was able to attach the three small clear parts - the tail light and the two wing tip lights - without trouble, but the canopy required some filing to make it fit. The slot for the antenna mast was not wide enough. Also, although not too obvious in the photos, the front of the canopy does not rest on the fuselage - there is a bit of a gap.
Page last updated September 5, 2025.