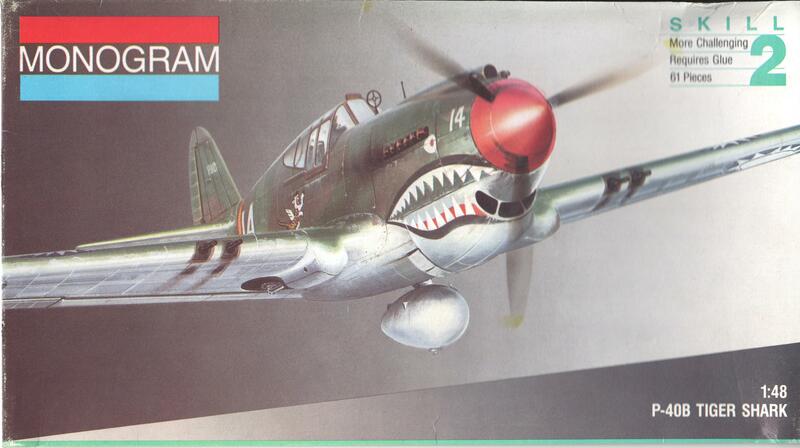
Monogram 1/48 P-40B Tiger Shark (5209)
I bought this kit at a swap meet earlier this year for $5. It had already been started. I thought it might be useful to practice some techniques on, since it wouldn't be a big deal if I botched it. As it happens, I really didn't try anything new on it, as it seemed to be going pretty well and I didn't want to ruin it.
Like most Monogram kits of that era - this kit was first released in 1964 - it is quite simple. There really isn't much to say about assembly. The decals did not look to be in that great of shape (more on that below), so I decided to go with the simplest scheme.
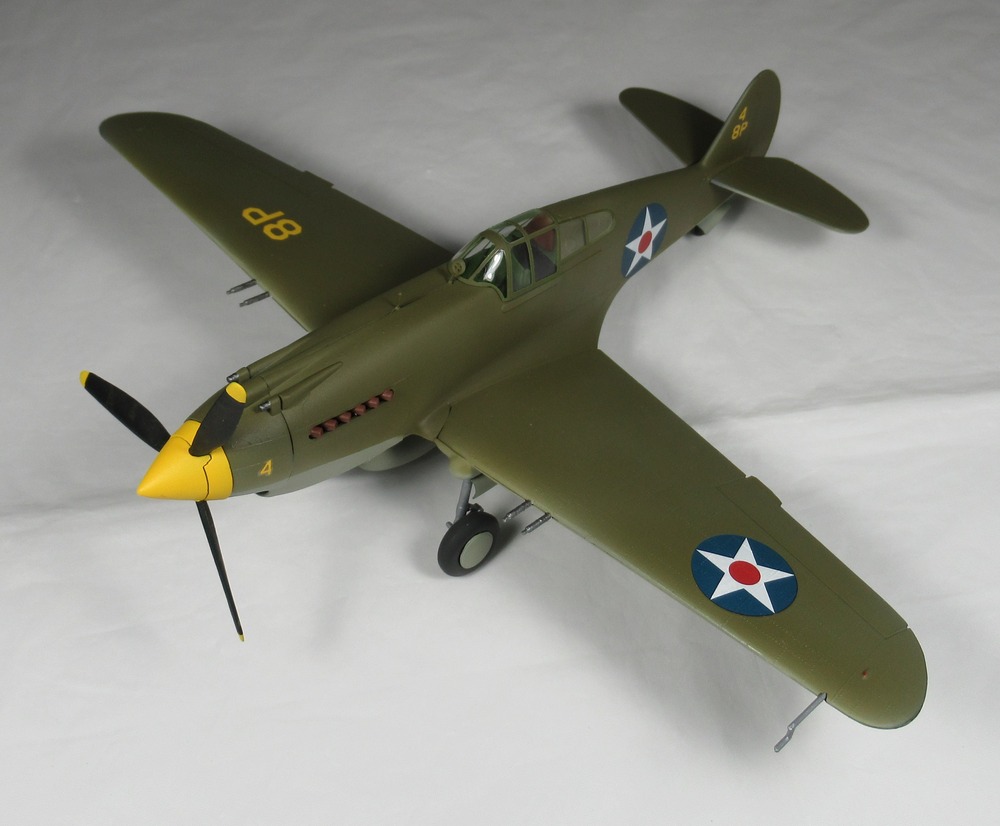
I primed with Krylon Colormaxx Gray Primer from a rattle can. The wheel covers on the subject I was going to do were neutral gray, the same color as the bottom. Since I planned to use acrylics, I wanted to prime the wheel covers, but had neglected to do so when I primed the main body. I decided to simply brush an enamel gray on the wheel covers to prime them. I chose Floquil CN Gray #17, a railroad color. (I believe the CN stands for Canadian National.) I used a microbrush to apply the CN Gray, and it turned out very smooth. As a matter of fact, I like the color so much that I decided to use it for the undersides. It is a little lighter than actual neutral gray, but I liked the way it turned out.
The top was sprayed with Model Master Enamel USAAF Olive Drab FS34087. The kit instructions show the spinner as yellow, although I saw a couple of builds of USAAF P-40B's on the web that showed it as olive drab, the topside color. I decided to stick with yellow, and used Testor's Flat Yellow in the 1/4 ounce bottle. This was also used for the propellor tips. I brush painted the black on the propellor blades.
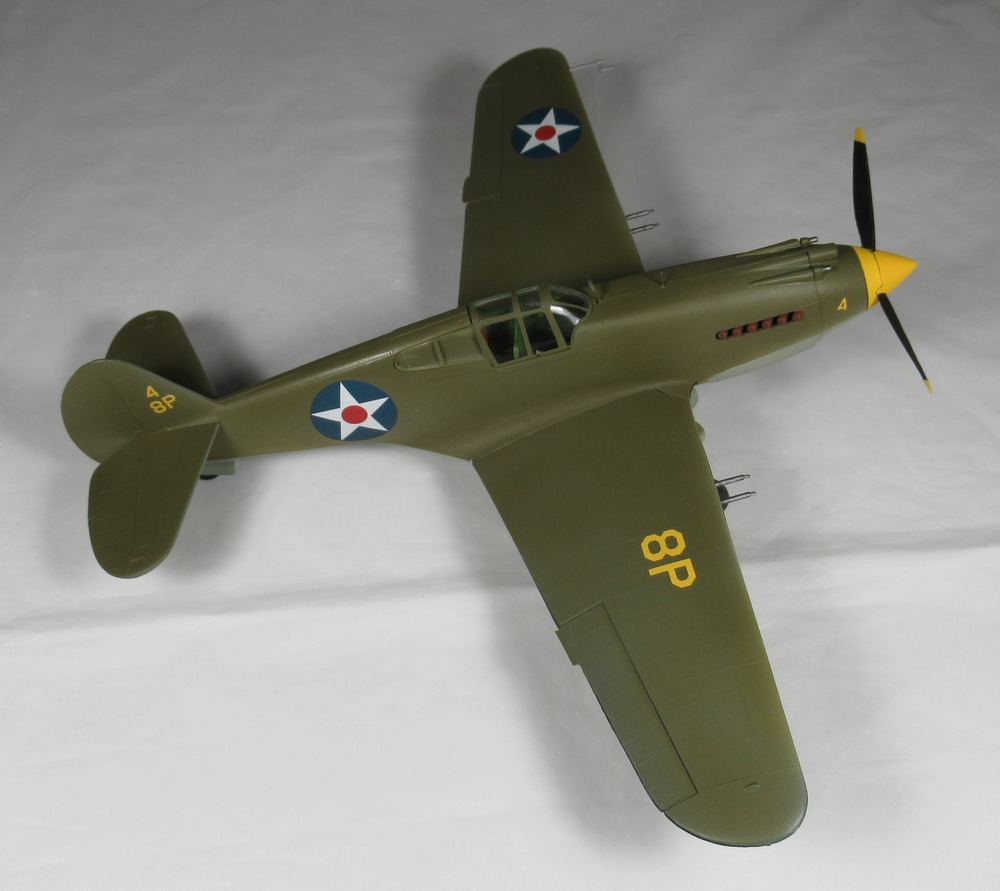
As usual, I used Quick Shine for the pre-decal gloss coat. I started decaling on the bottom, as I usually do. I had a lot of trouble with the kit decals. Once applied to the model, they did not want to move. I got very frustrated and had to walk away from the bench for a bit. I have a more recent boxing of this kit in the stash, and used the rest of the decals from that. They went on very well. I used Microset to remove the insignia and the "ARMY" on the bottom, which worked well, perhaps because the decals were not fully dry. I then applie the insignia and "ARMY" from the new boxing.
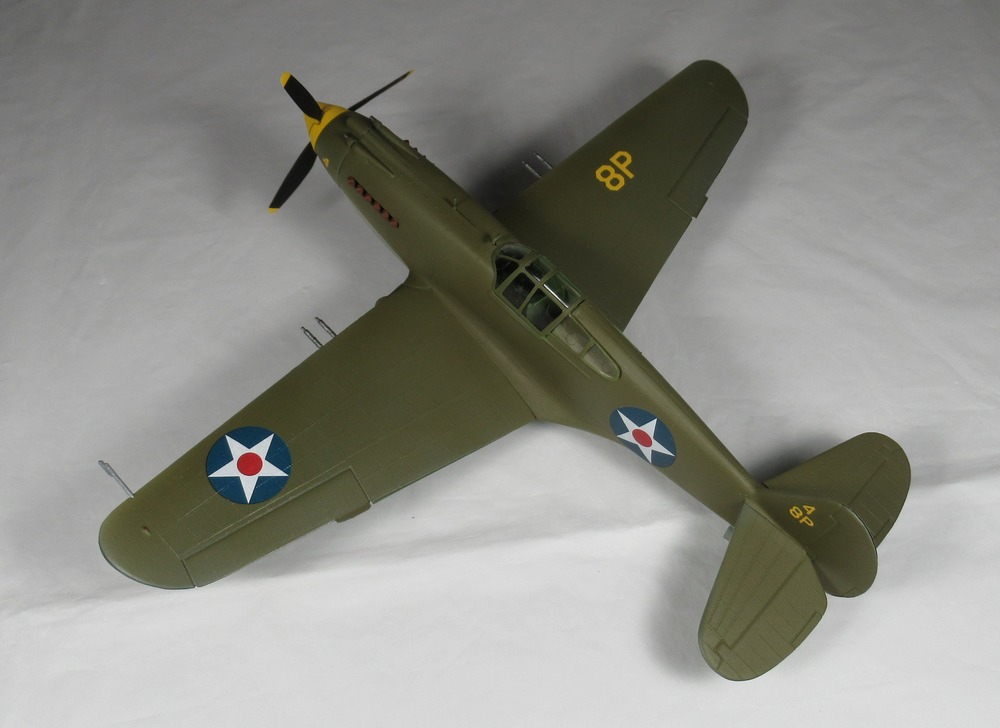
As with the J2M6 I finished earlier this month, I created a mask for the canopy and used my Silhouette Portrait cutter to cut it. It fit quite well. The SVG file can be downloaded from here. However, when I tried to attach the canopy - the very last thing to do - it did not fit well at all. There are two canopies with this kit, an open canopy and a closed canopy. I used the closed one. I ended up just pressing it down. I did not glue it, but I can turn the model over and the canopy stays in place. I think the rear sections snapped into place, and that is what is securing it. I think when I build this kit again, I will use the open canopy.
Page last updated September 13, 2025.